My name is Ruxandra and I have been diagnosed with Graves disease in May 2018. Ever since I found out I’m suffering from an autoimmune disease I started searching for complementary solutions, besides medication, which in my case had not been so efficient in treating my symptoms.
It was then introduced to the AIP and Paleo diets, that I’ve been using to ease my autoimmune symptoms and to treat the cause of my disease. The effect of the diets and nutrition has been spectacular in my case, considering that I started this diet with 100% skepticism at first.
In my case, I tested the Autoimmune Diet on my own body, and realized the numerous beneficial effects it had over my autoimmunity, that were also backed by an improvement in my blood test results. At first I was amazed by the disappearance of my autoimmune symptoms, but later on I found that this is a healthy lifestyle that I should hold on to if I want to preserve my health for the long run.
Appetizers have been quite a challenge for me since I’ve started the AIP diet. And that’s because my favorite appetizers before used to contain gluten or additives, which made them pretty tasty.
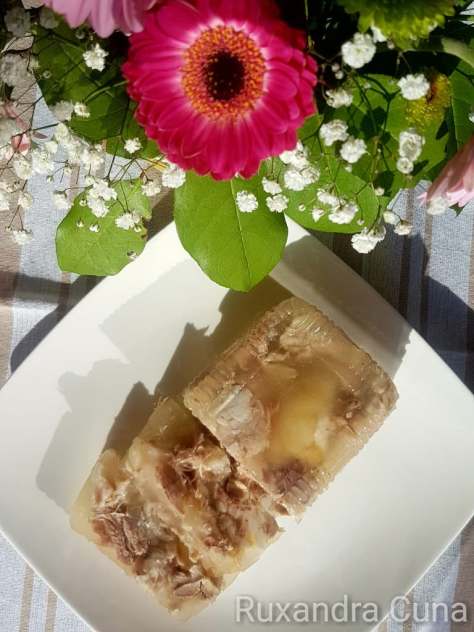
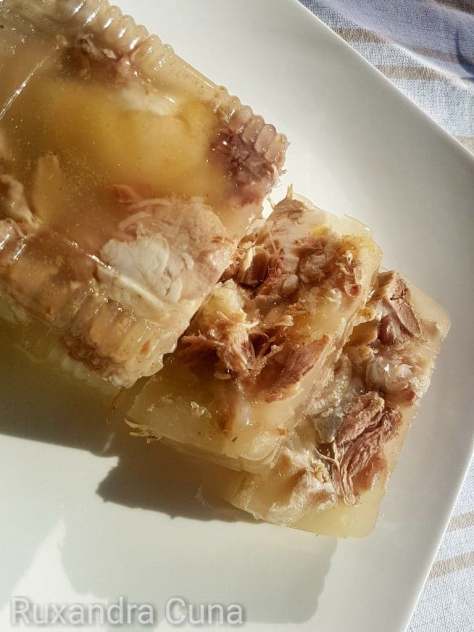
But that’s before I started researching the Romanian cuisine for alternatives that would be both AIP compliant as well as traditional Romanian. So I’ve discovered the Pork Jello, which actually has 3 strong points: It’s tasty, it looks great and…. SURPRISE: it contains enough collagen to help heal your gut faster!
So here’s the super easy Pork Jello appetizer, a 4 ingredient super tasty prep that can be made in no time!
Here are the ingredients you need:
4 pork legs
3 liters water
1-2 garlic clove
salt
And here’s how you make it:
You wash the pork legs very well and put them in the cold water, using large pot.
You let them boil on low heat and you collect the foam that forms on top – from time to time. Remember not to use any cover for the pot, just let them boil uncovered.
You add in the salt.
They are done boiling when the meat detaches from the bone.
Once they’re done, you take the legs out from the liquid and then take the meat off the bones while they’re still hot/warm. You place the pieces of meat in a shape of your choice (it can be a plate, a bowl or any shape that ensures the meat will be well covered with liquid once you’ll pour it over).
You then take out the foam/grease off the liquid surface and test see if it solidifies (if it’s turned into a gelatin) – you can just pour a few drops on a small plate to check. If the drops solidify (like a gelatin) when they get cold, it means it’s done. If not, you can let it for a couple of more boils and then test again.
Once the liquid is ready (once it solidifies in cold temperature), you can set the pot aside from heat and let it rest a bit (until it clarifies).
You add in the minced garlic per taste in the liquid before you strain it (you can use a regular strainer).
You can then strain the liquid over the pieces of meat in the shapes you’ve put them into and you let them cool down a bit. You then place them in the fridge for a couple of hours.
Voila! An AIP-friendly appetizer with just 4 ingredients is ready to make a hit at your table!
Once it’s cooled, you can serve it directly from the shapes (plates, bowls, etc) or you can turn the shapes down and have your pork jello shaped in a more unique way! 🙂
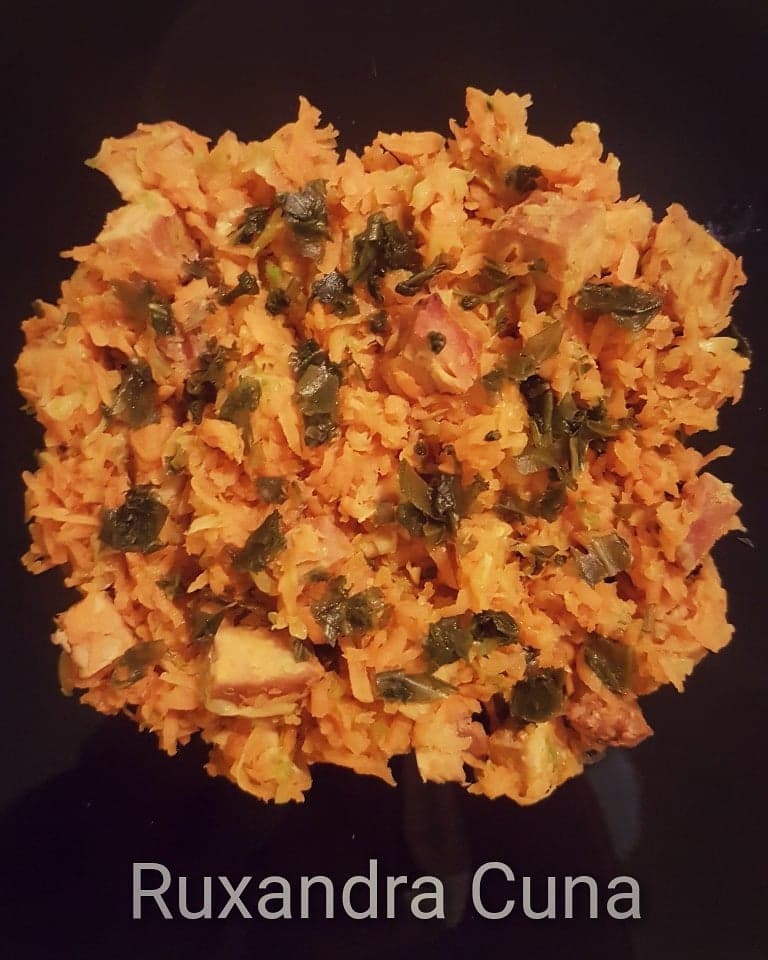
Before starting the AIP diet, I used to be a big fan of rice. I used to eat it both as side dish as well as main course, in paella. But since rice is not allowed in the Elimination Phase of AIP, I had to find a replacing option. And this is how I discovered the “cauliflower rice”.
It may sound like a trick, and it actually is a food trick meant to convince my brain that I’m not actually eating cauliflower – but rice. Anyway, I liked it so much that I decided to add it as a regular side dish in many of my lunches and dinners.
Here’s how I prepared the “cauliflower rice” with turmeric!
The ingredients I used for two servings are:
1 medium cauliflower
1 Tbsp olive oil – I use this olive oil from Bragg – extra virgin:
4 garlic cloves
1 leek
1 white onion
3 Tbsp water
2 tsp turmeric
1 pinch salt
And here’s how I prepared it:
I minced the onion, leek and garlic into small cubes.
I used a larger pan and cooked the leek, garlic and onion in the olive oil for 2 minutes on medium heat, until the onion turned glossy. I then added in the water over them and let them sit for 2 minutes.
Meanwhile, I washed the cauliflower, cut it into smaller chunks to make it easier for the blender to mince it, and then I blended it on medium power until it got a rice consistency.
I put the rice-like minced cauliflower into the pan besides the other ingredients and added in the salt. I mixed everything well and I put a cover over the pan. I let everything cook on medium heat until the cauliflower softened and I mixed from time to time.
When the cauliflower softened, I added in the turmeric and mixed everything well. I left it for another 3 minutes on medium heat and then I removed it.
I served the cauliflower rice with grilled chicken breast that I cut into smaller pieces, sprinkled with a bit of olive oil, thyme and salt and grilled for 3-4 minutes on each side.
This specific dish helped me remember the consistency of rice after two whole months of AIP strict diet. 🙂
Enjoy and let me know your feedback in the comments section!
When I first started the AIP diet I thought my baking skills will leave me and never come back. That’s because I always identified gluten with bread and baking, so in my mind the fact that I had to leave gluten out meant that I’d leave behind everything that’s baked.
That was a terrible confusion I was making, and I convinced myself of it as soon as I discovered all these compliant flours that allowed me enjoy baked preps, from AIP bread to AIP cookies or cake.
So I made a complete list of all the compliant AIP flours and some examples of how we can use them. Here we go:
Coconut flour is one of the most commonly used flours in the AIP diet. You can use it for just about anything that needs high temp preparation: baking and frying (for covering in coconut flour crust). The coconut flour doesn’t usually do by itself in baking, since it doesn’t have the capacity to absorb water. So in most recipes it must be combined with other types of flour, like arrowroot or cassava flour, for obtaining the desired consistency, especially when baked. Here’s my favorite coconut flour, I’ve been using it since it’s 100% organic and Non-GMO – you can click the image for details:
My favorite coconut flour
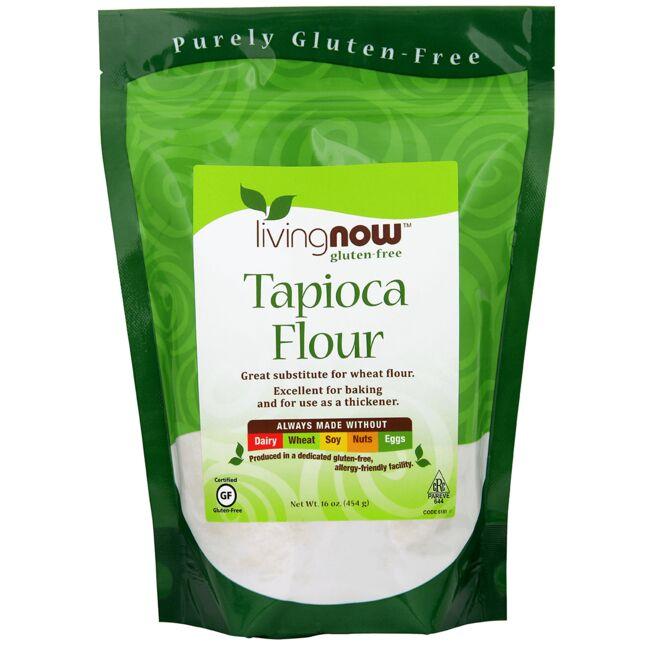
Tapioca flour is another compliant one for the AIP diet. This one is extracted from cassava roots, which make it very rich in carbohydrates. So if you plan to include more carbs into your AIP diet, this one’s the best choice to make. Tapioca flour is also combined with other flours, but not because it can’t absorb water, like in the case of coconut flour, but because most recipes blend more flour types for obtaining a better taste that mimics the flavor of gluten foods 🙂 Us AIPers are guilty as charged! Below is the tapioca flour I am using, I like it as it’s very finely ground.
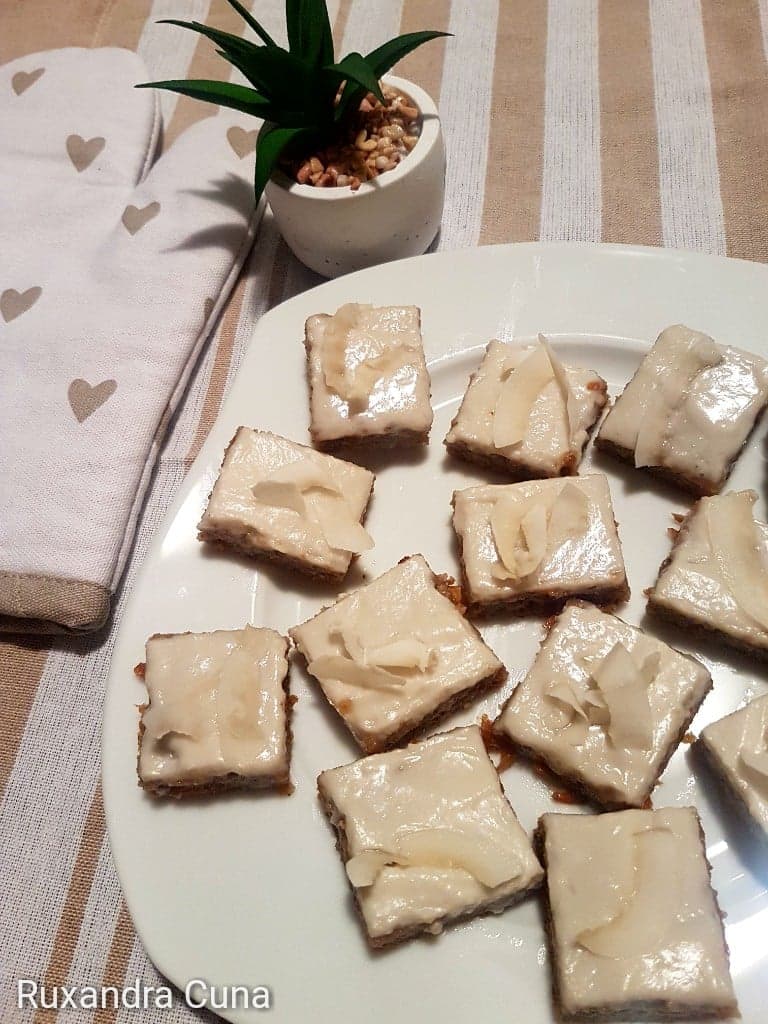
Arrowroot flour – this one’s a must use whenever you’re cooking with other flours that don’t absorb water, like coconut flour. The arrowroot flour or starch is a great binder when you just have to have that bread or cookie stick into one piece! It’s quite easy to find, you can get it much more easily than other flours since it’s available in most organic stores, online or offline. Used arrowroot in most my baking, like the AIP carrot cake below:
Plantain flour – This type of flour is one of the favorites in most AIP diets, as it’s rather standalone, you can just use it with no other flours for baking and even frying. I’ve used it for some super-fast AIP mini breads and they turned out delicious! Here’s the plantain flour I’m using, it’s Non-GMO:
Cassava flour – it is many times confused with the tapioca flour, but there is a clear distinction between the two, coming from their way of processing. So while both cassava and tapioca flour are extracted from the cassava plant, they are different in consistency and also in flavor. You can use cassava flour in most baking recipes, considering that it acts like a very good liquid absorbent, which makes dough very consistent and easy to work with.
Tigernut flour – this one is also AIP compliant but not for my case in particular, as I’m allergic to tigernuts in general. So I’ve been using it for a cookie recipe and my body rejected it bringing me back all the symptoms that the AIP diet managed to take away. But if you know you’re not allergic to tigernuts, you can use the flour in baking without a problem. Here’s the one I used:
Sweet potato flour – this type of flour is very compliant and very easy to find in most Asian food sectors in supermarkets. Anyway, you should pay attention to the ingredients, as it has to be Non-GMO and have no added sugars or other additives to it. Mine is 100% sweet potatoes, no additives – the one below:
Pumpkin flour – this type of AIP compliant flour is rather hard to find, at least where I’m located. It’s great with dessert recipes, but it can also be used in baking neutral taste foods like bread. I ordered mine online since I couldn’t find it in any brick&mortar store, still waiting for it to arrive.
Water chestnut flour – this is also a compliant flour but with the same observation as for tigernut flour – take care of any previous allergies you may have had to chestnuts. If it’s not the case, you can then use the water chestnut flour with no problem!
Cricket flour – this one is also compliant but it is the last on my list because I’ve never used it so far since I couldn’t find any, but I plan to order some and get it for a spin. I’ll let you know how it goes with it! If you’ve used it yourself, let me know about it in the comments section below.
So these are all the AIP compliant flours. I’ve been using them all except for the cricket flour, which I plan to get and to use very soon. Just one more thing before finishing this article…. whenever you buy a flour, please remember to act the same as with other AIP ingredients: please check the label of the product first because it’s very important to avoid any preservatives or flavors added to the foods. I know the AIP elimination diet is very strict, but believe me, this strictness will only do you good!
Enjoy your AIP baking and let me know your thoughts in the comments section below or in your Facebook support group.
After I started the AIP diet I became obsessed with explaining myself everything. Maybe because I started this healing journey that treats the root of the disease rather than the effect, so I guess this inspired me a lot in finding what made me sick in the first place.
Until 2018, my biggest health concern had been the fear of getting cancer. This was the absolute worst disease in my mind, a disease I was so afraid of. This fear was probably caused by the fact that the cruel cancer had occurred in my family, I saw it manifesting and was well aware of the grief it could cause. Whenever I heard of cancer I would remain speechless with terror.
But in my case, one fear led to another, which this time was 100% real, as in 2018 I got diagnosed with Graves disease. So my health priorities changed from obsessive cancer prevention to coping with a real autoimmune thyroid disease. I had never been seriously ill before getting the Graves diagnosis, I had only been obsessed with preventing diseases that were just in my head, not inside my body.
Now, let’s start with the beginning, with the life choices I made that triggered my autoimmune symptoms.
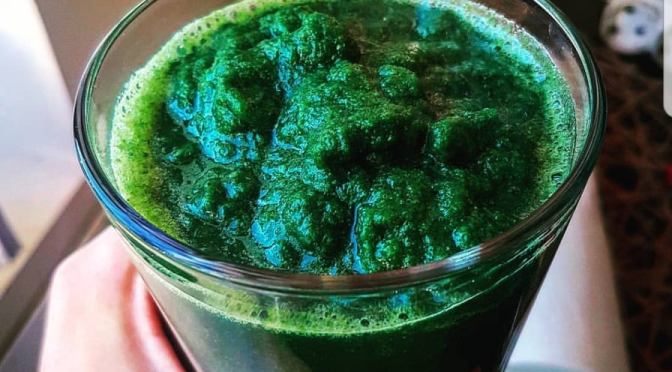
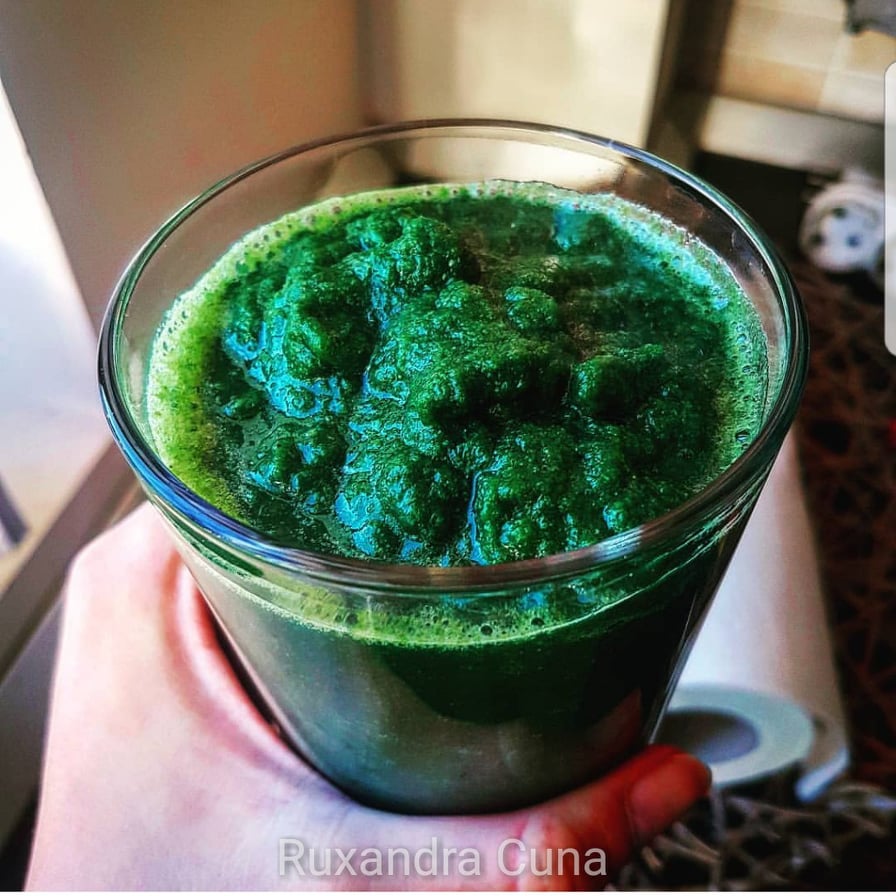
Unlike other Graves disease patients, I am 100% sure what triggered my disease. It was the huge amounts of spirulina I used to consume. I found out about it only after I got diagnosed with Graves, and started to look for my triggers in an obsessive way.
So knowing this for sure, with the help of my doctors who confirmed it, after I got my Graves diagnosis I even encouraged myself into thinking: “if I know what caused Graves in me and if maybe I caused it myself – the way I know it – I will certainly find a way out of it!“
Before I got Graves, I used to be obsessed with staying healthy, especially given my previous fear of cancer. Used to be obsessed with keeping my immunity high and used to do all kinds of researches for it. All these studies and researches got me into buying and consuming all kinds of food supplements, some more organic than others. I used to consume A LOT of spirulina, maca powder and pollen – besides all the raw greenies I used to be crazy about. One might consider this as a pretty healthy choice, eating all organic and adding supplements to almost all the foods I prepared.
But I jumped the line.
I made two mistakes:
I kind of auto-medicated myself, which I now understand is a very reckless thing to do, not having real sense of quantities or recommended combinations of supplements. I used to just add handfuls of supplements to my smoothies daily and would expect the best of my health out of doing this.
I hadn’t had any blood tests done before taking supplements, so I ended up getting too much of a specific nutrient in my blood, which eventually made me sick.
And I did all of this out of a stupid fear for getting cancer.
Since I hadn’t had any blood tests done before taking the supplements, it was only after I got diagnosed with Graves disease that I started to review every action I’d done in a reversed order, to figure out what I’d done wrong. So by reviewing about everything I ate the year before, with support from two physicians who helped me reach a conclusion, I finally figured it out: the supplement that triggered my autoimmunity and that blew up my antibodies was SPIRULINA.
Here are the factors that lay at the basis of my theory:
I ate industrial quantities of spirulina 2 months before I got diagnosed with Graves disease. All my smoothies, shakes and desserts used to contain at least 2 tsp of this supplement, that I was seeing as the no. 1 cancer-prevention at that time.
Spirulina contains very high values of iodine, which in my case triggered the thyroid reactions and caused me some symptoms that were incredibly new and disturbing (extreme fatigue, headaches and muscle cramps all over my body).
I also consumed spirulina a couple of times after I got diagnosed with Graves, to figure out if it was really a trigger, and every time I did it, the symptoms would become worse than those of any other foods I’d eat.
So instead of acting like a superfood, in my case Spirulina brought out all its iodine into play and triggered my antibodies, making my autoimmunity speed up so much.
My advice for you would be to act very careful on what supplements you are taking and always try get an opinion from a functional doctor or at least a nutritionist.
I hope my experience with spirulina will help all the hyperthyroid and Graves patients out there!
Tonight I didn’t feel like eating meat. Maybe because I overreacted with meat-ing in the past couple of weeks. So when I was thinking of eating something fresh and tasty at the same time, I had this idea of making a sauteed veggie dish.
So using my kitchen knife I cut:
8 medium mushrooms
1 leek
4 green onions
…and sprinkled garlic powder and salt over them. I then heated 2 Tbsp olive oil in a large frying pan.
I put all vegetables in the pan and sauteed them for 5-6 minutes on medium heat, or until the mushrooms soaked a bit. I added in a bit more Himalayan salt because I like my food a bit more salty than average taste.
I ate them as they are and really enjoyed the flavored taste super fast dinner!
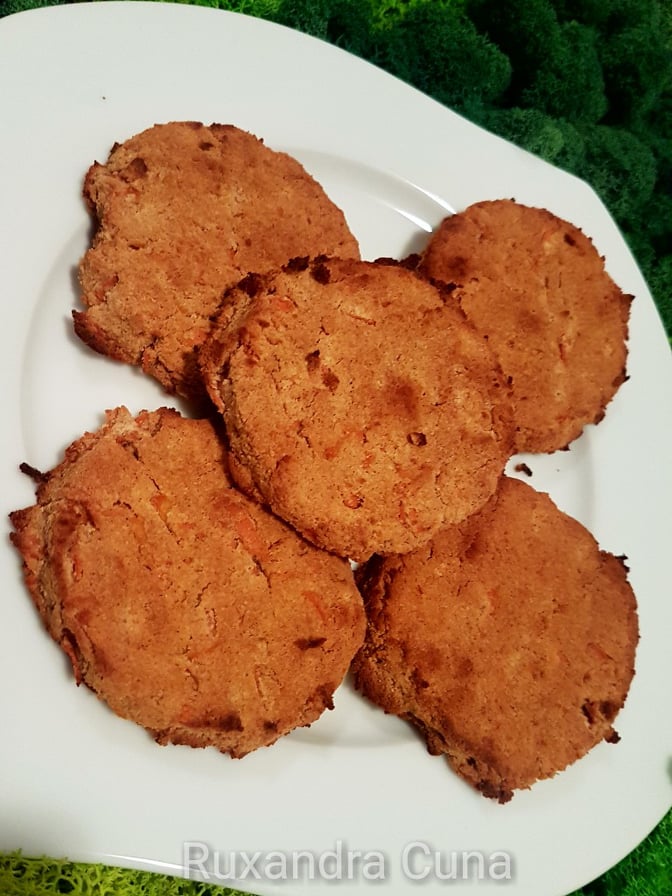
I’m preparing some foods for tomorrow and wanted to try a new organic dessert. So I made AIP carrot cookies. They’re tasty, healthy and AIP compliant!
There ingredients I used are:
1 cup coconut flour
1/3 cup arrowroot flour
1 Tbsp ground cinnamon
1 tsp ground ginger
1 tsp baking soda (gluten-free)
1/2 tsp Himalayan salt
4 Tbsp honey (I used organic acacia but you can use any type of honey)
1 Tbsp vanilla extract
1 tsp apple cider vinegar
1/2 cup coconut oil (melted)
2 Tbsp gelatin (for the gelatin egg)
1/2 cup filtered water
1 cup grated carrots
And here’s how I made the cookies:
I preheated the oven at 350 F or 180 C and lined a baking pan with parchment paper.
I mixed all the dry ingredients in a medium sized bowl (coconut and arrowroot flour, cinnamon, salt, baking soda and ginger) and set it aside.
I then mixed the liquid ingredients in another medium sized bowl (honey, vanilla, coconut oil and apple cider vinegar). I blended them using a hand mixer.
I then prepared the gelatin by putting the 1/2 cup water into a medium pot and slowly sprinkling over the 2 Tbsp gelatin, easy, to make sure it didn’t create any clumps. I let it bloom for about 5 minutes.
I then mixed the dry ingredient bowl into the liquid ingredient one and used a hand mixer to blend well. I added in the grated carrots in the mixture and blended again to make everything look like a dough.
After the 5 minutes of the gelatin passed, I put the pot on low heat and left it for another 2 minutes until all the gelatin dissolved.
I then poured all the gelatin liquid into the dough and blended using the hand mixer on high, until it became homogeneous.
I then used my hands to turn the dough into a big ball shape and placed it on a parchment paper to even it up. I then used another parchment to put on top and slowly roll out until the dough bowl turned into a circle-like flat form, about 1 inch thick.
I used a larger glass to cut the cookie shapes from the dough and used a spatula to put them in my baking pan.
I baked them for 40 minutes on the middle grill of the oven (if you place the pan on the lower grill of the oven they will burn out).
The result made me so happy, I wish I could eat them right not but I have to save them for tomorrow 🙂
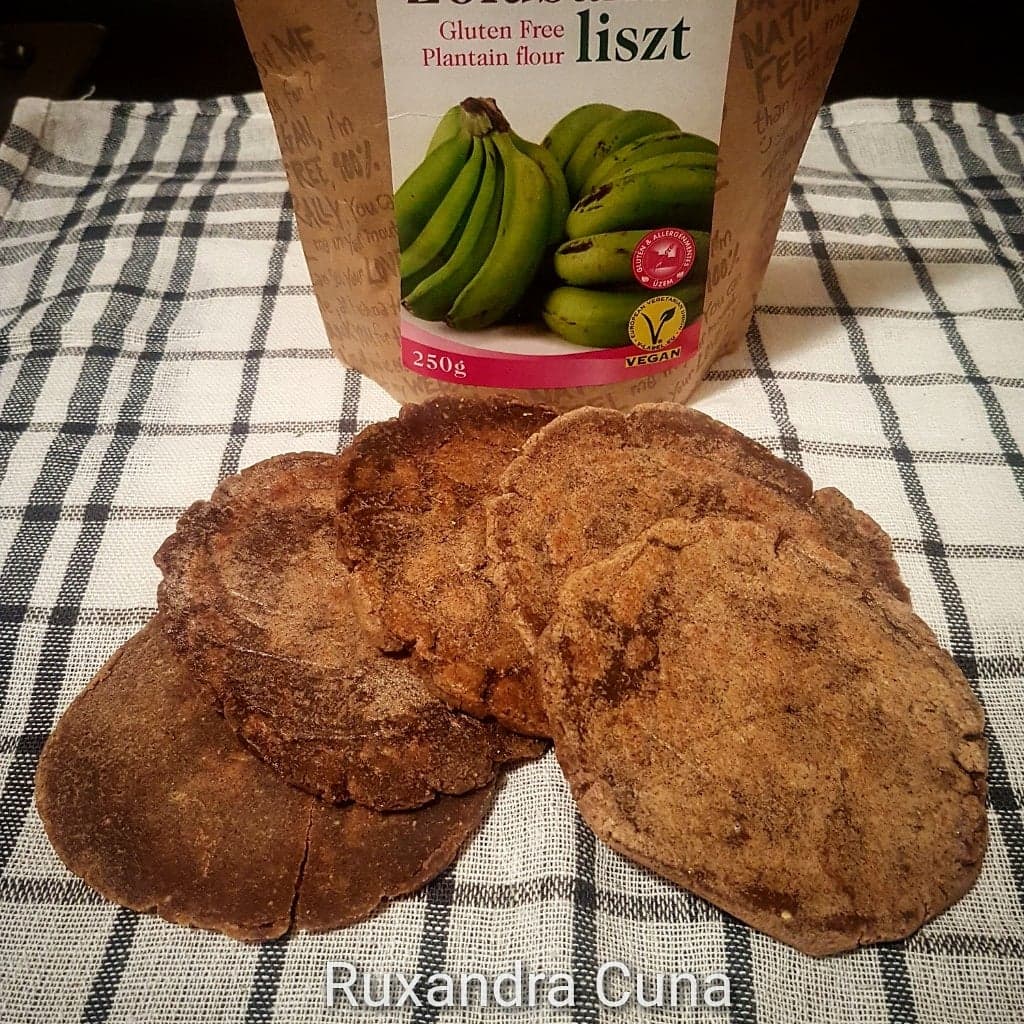
I managed to obtain this nice AIP bread by using only 4 ingredients. I’m so proud of the recipe I could scream for joy! That’s because I needed a new bread replacement that I could use as basis for appetizers (I used to eat a lot of bread before, so I’m constantly researching and testing the AIP bread sector :).
Here are the ingredients I used:
1 cup plantain flour
1/2 cup filtered water
5 Tbsp olive oil
pinch of salt
And here’s how I made the small breads:
I first mixed the dry ingredients in a medium bowl (flour and salt) and then poured in 3 Tbsp of the olive oil. I mixed everything well and added in the water bit by bit and mixed continuously, until I obtained a dough that is ready to mold.
I then formed small round shapes about the size of a nut, and used a parchment paper to flatten them in a shape that was as round as possible and the thickness of a straw (they need to be as thin as possible to make sure they cook well in the middle).
In a larger frying pan, I put in another Tbsp olive oil and let it heat for a bit. I placed in the round dough breads and let them cook for 3 minutes on each side.
They’re very tasty to serve while still hot (warm) or at least the same day you make them. I used them for making bruschetta with prosciutto crudo but you can top them up with just about anything AIP compliant (guacamole, bacon, liver paté, etc).
They took me a total 20 minutes to prep, including frying.
Note! I tried to save them for the next day but they hardened a bit and were not so tasty like when I had cooked them. I suggest you eat them the same day you cook them.
I had this amazing AIP lunch today, made up of only 5 ingredients:
1/2 sweet potato
1/2 zucchini
1/2 cup leftover meat
1 Tbsp coconut oil
salt
I tried this crazy-tasty combination and got myself a great fast lunch in just 15 minutes.
Here’s how I prepared it:
I peeled the half sweet potato and grated it
Peeled the half zucchini, took out the soft seeds middle part and grated it too. I also squeezed out all the water in it before cooking
I heated 1 Tbsp coconut oil in a medium pan on medium heat
I diced the leftover meat in small pieces
I put in the sweet potato, the zucchini and the diced meat in the heated oil and sprinkled some salt. I cooked everything for about 3 minutes, or until the sweet potato softened
I sprinkled over salt and some fresh parsley for extra flavor and voila!
All the process took me 15 minutes (preparing and cooking) and the result was really tasty!
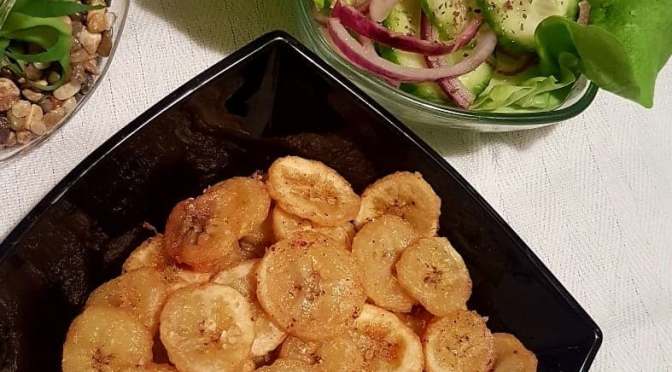
Plantains some of the few AIP compliant foods that can be turned into real snacks! Yeah, you saw it well, I wrote snacks!Plantain chips are made per a traditional African recipe (and South American), that combines the crunchy texture with a mildly salted flavor. Yum!
The difficult part for me in making plantain chips is that I didn’t actually find any plantains :))) – because no supermarket sells them in Romania. So I had to deal with what I had, and that is “barely green” bananas 🙂
But the result turned out great whatsoever!
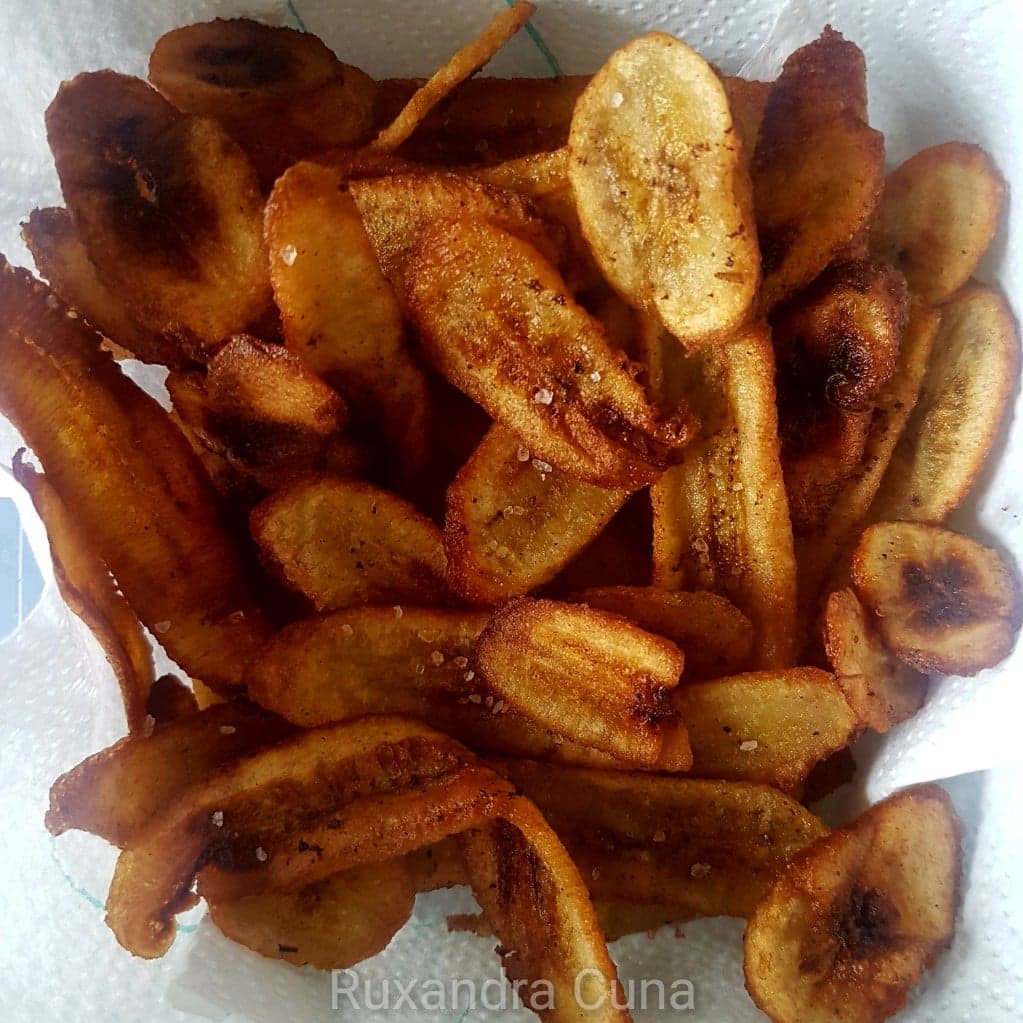
Here’s how I made my “plantain” chips:
I used 5 green bananas and 8 Tbsp duck fat for frying
Peeled the green bananas and cut them into very thin slices (they need to be thin so that they cook well and don’t remain soft in the middle)
I placed all the plantain sliced in a bowl with enough water to cover them, in which I also added in 1 tsp Himalayan salt. I let them rest for 30 minutes in water
Heated 6 Tbsp duck fat in a larger pan on high heat and once the fat was very hot I turned the heat to medium-low. You need to make sure there’s enough fat in the pan to cover the plantains, as they will need to be deep fried
I placed the first batch of plantain chips from the water bowl on a paper towel to have the water removed a bit before frying (water in hot grease is pretty dangerous to be next to). I then placed them in the heated duck fat (after I turned the heat to medium-low, otherwise the fat would have sprinkled everywhere). Make sure there’s enough space between the chips, or else they’ll stick to each other, which we don’t want
I deep fried them for about 3 minutes on each side and them placed them from the pan to a paper towel to have the grease removed. You can get them out when they look crispy enough and their color becomes golden. Once taken out, sprinkle more salt over them while they’re still hot
I repeated the same steps with the next batches of plantains, adding in more duck fat as needed
You can also use any other vegetable oil for deep frying them, however I preferred duck fat in order to have them 100% AIP compliant (as olive oil is not normally used for deep frying). But if I think about it, you can also try frying them in coconut oil as well (which is also appropriate for deep frying).
The plantain chips are an AIP friendly snack that you can store for up to 2 days and enjoy a healthy crunchy snack anytime you need one. Aaaaand if you do find plantains instead of green bananas ( 🙂 ) it’s going to be even better!
P.S. The avocado oil in this post’s image was just used for the green salad that I combined the plantains with!