All posts by Ruxandra

My name is Ruxandra and I have been diagnosed with Graves disease in May 2018. Ever since I found out I’m suffering from an autoimmune disease I started searching for complementary solutions, besides medication, which in my case had not been so efficient in treating my symptoms. It was then introduced to the AIP and Paleo diets, that I’ve been using to ease my autoimmune symptoms and to treat the cause of my disease. The effect of the diets and nutrition has been spectacular in my case, considering that I started this diet with 100% skepticism at first. In my case, I tested the Autoimmune Diet on my own body, and realized the numerous beneficial effects it had over my autoimmunity, that were also backed by an improvement in my blood test results. At first I was amazed by the disappearance of my autoimmune symptoms, but later on I found that this is a healthy lifestyle that I should hold on to if I want to preserve my health for the long run.

Tapioca Pudding with Mango topping – AIP and Paleo

Being on an AIP diet may be a bit frustrating initially, especially as one of the first things you consider is the fact that you have to give up sugar.

Well, I have great news for you: the AIP and Paleo diets are very permissive with desserts. There are hundreds of desserts you can try, which are organic, healthy and contain anti-inflammatory ingredients.

Here’s the tapioca pudding recipe that I absolutely love and that you can make out of just 4 ingredients.

Here’s what I used:

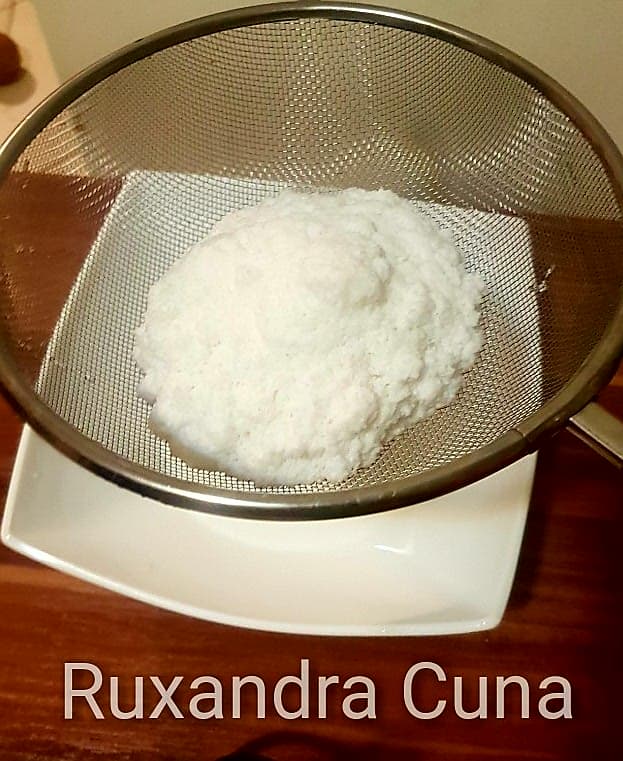
  1. 1 cup hydrated tapioca pearls
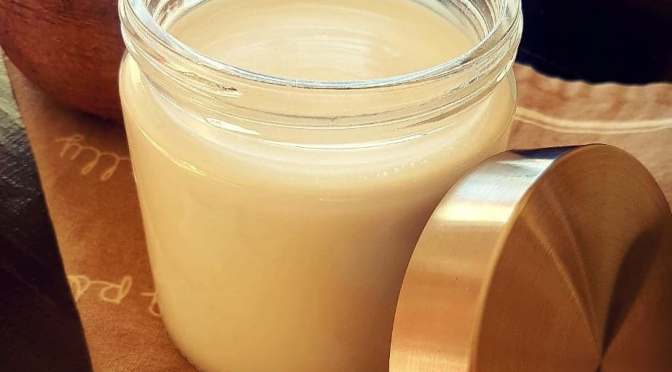
  2. 1/2 cup coconut milk
  3. 1 tbsp honey
  4. 1 mango fruit

* The tapioca pearls should be left for hydrating in filtered water for at least 3 hours. Make sure you add enough water as they enlarge 3 times their size.

Here’s how I’ve done it:

  • In a small saucepan I added the tapioca pearls on medium heat and added half of the coconut milk.
  • I stirred continuously using a large tablespoon until the pudding became solid and then I added in the rest of the coconut milk and continued mixing, in total for about 6 minutes. Depending on how thick you like your pudding, you might want to keep it more on less on the heat.
  • I let it cool for 1 minute and then added in the honey and stirred again the whole thing until it became homogeneous.
  • I then placed the pudding in cups and let it cool at room temperature for another 20 minutes.
  • I peeled the mango fruit and prepared each half differently, as I wanted to top my two servings differently: I chopped and blended 1 half until I obtained a puree and I minced the other half in whole square-like pieces.
  • I then topped the first serving with the puree and the other serving with the whole mango pieces.

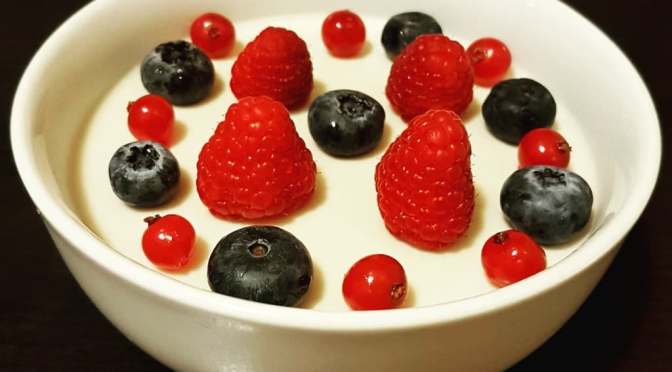
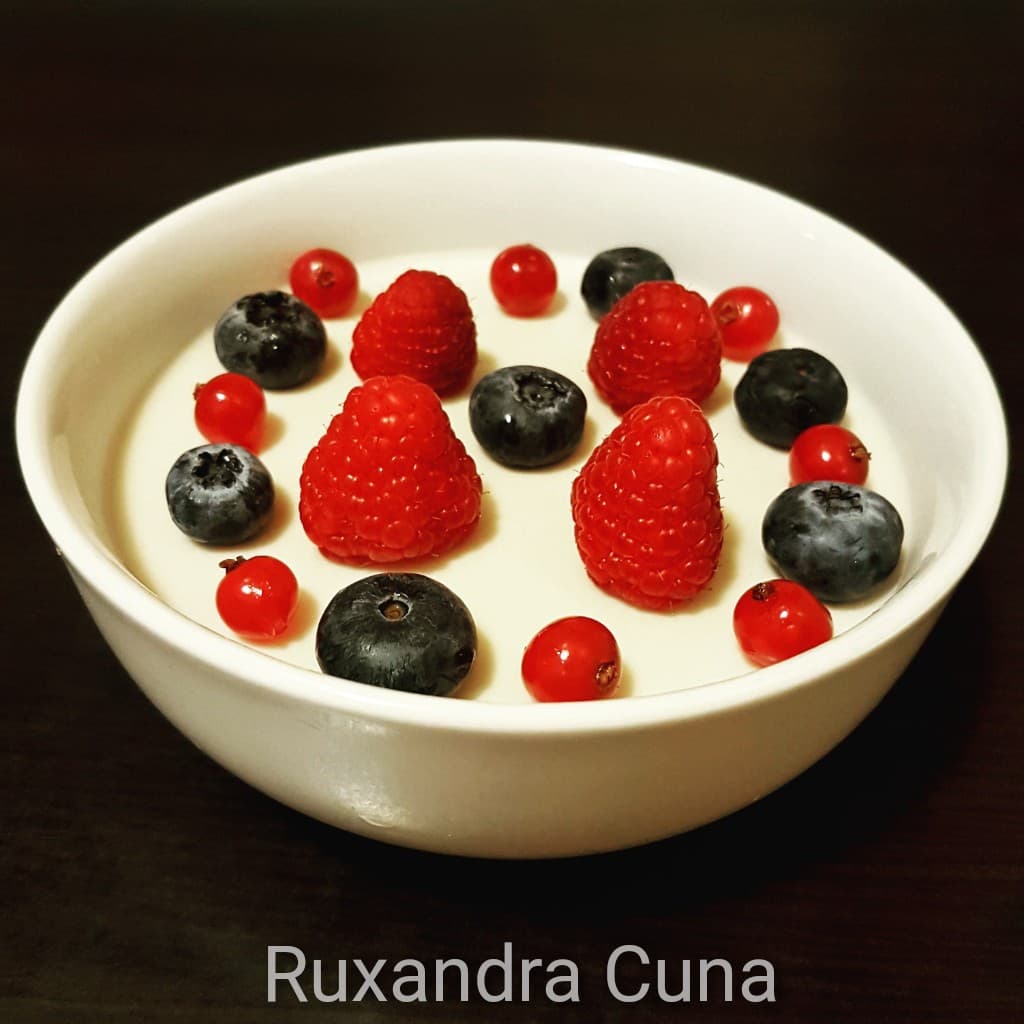
Voila! I obtained the mango tapioca pudding two ways: one with mango puree and the other with whole mango pieces!

Now I’m just enjoying my gluten-free/sugar-free/dairy-free AIP pudding while writing this blog post!

😊

Guacamole – AIP and Paleo

Guacamole - AIP and Paleo recipe

Avocado has been my source of inspiration lately. I like its texture, it’s color and especially I like that it’s full of antioxidants and vitamins! It’s quite funny because we don’t grow this fruit in Romania, but I’m so glad I discovered it better since I’ve started my AIP diet.

Avocado is both carbohydrates and healthy fats, which makes it the perfect choice for the AIP and Paleo diets and the whole process of healing your leaky gut. And to make things more interesting, it contains some of the most valuable vitamins, like:

  • Vitamin A
  • Vitamin B6
  • Vitamin C
  • Vitamin E
  • Vitamin K

Now enough with the praise, let’s do some AIP guacamole! 🙂

Here are the ingredients I used for one serving:

  • 1 ripe avocado (the kind of use has a darker color when ripe)
  • 1/2 medium size onion
  • 1 tsp olive oil (the avocado is already oily so more oil makes it a bit icky). I used this olive oil since it’s 100% organic:
  • 1 tsp lemon juice
  • sea salt per taste

Here’s how I prepared it:

  • I cut the avocado in two halves and took out its kernel. I then peeled it using a large spoon (if the fruit is ripe you just bring in the tip of the spoon between the pulp and the peel and you can easily take out the pulp by rotating the spoon)
  • I placed the fruit in a small mixing bowl and mashed it all using a fork. It needs to be completely mashed in order to be able to mix it with the rest of ingredients.
  • I then added in the chopped onion, the olive oil, the lemon juice and the sea salt and blended all ingredients together until I obtained a homogeneous mixture.

Yes, it’s that simple!

I like to eat the guacamole as it is OR as a side dish to Romanian traditional AIP “bucket meat”.

*If you prefer a bruschetta snack you can easily top any type of AIP or Paleo bread with it and you’ll have your super snack ready in no time.

Enjoy!

Garlic coat Chicken Livers – AIP and Paleo

Fried Cchicken liver - Paleo and AIP recipe.

Garlic is one of my favorite flavors! It’s incredibly healthy, keeps the flu away and it gives a special, unique taste to any food. In the AIP diet, with all the food restrictions I had to cope with, garlic has been my savior many times, as I eat a lot of meat, which needs flavor.

In this article we’re not talking about meat, but about offal, which is allowed in the AIP and Paleo diets, and my favorite type of offal is the chicken liver.

So I decided to fry the chicken liver in a more original way, that is with garlic flavor.

Here’s what I used:

  • 800 g chicken livers
  • 1/2 cup coconut flour
  • 1 tbsp garlic powder
  • 1 tbsp granulated oregano
  • 1 tsp sea salt
  • 2 tbsp coconut oil

Here’s how I’ve done it:

  • I mixed all the dry ingredients together in a bowl (coconut flour, garlic powder, oregano and sea salt), until well combined
  • I then tossed the chicken livers one at a time, to coat well in the mixture.
  • I heated the coconut oil on medium heat in a frying pan and placed the first batch of livers inside, making sure I left a bit of distance between them.
  • I left them for 3,5 minutes on one side and used a pot cover to make sure they smoother well.
  • After 3,5 minutes I turned them on the other side and used the pot cover again.
  • I repeated the process for the remaining livers, adding more coconut oil to the pan as needed.

They turned out delicious! You can serve them with raw salad or any other side of your choice.

Enjoy!

Coconut Pudding – AIP and Paleo

My kind of pudding! It’s sugar-free, gluten-free and dairy-free and it turned out super tasy! Aaaand it’s incredibly easy to make!

Here’s the list of ingredients I used:

  • 1 cup organic coconut milk (I’m using my home-made organic milk)
  • 1 tbsp gelatin. I used this one which is my favorite from Swanson:
  • 1 tbsp honey
  • berries of your choice

And here’s how I did it:

  • In a small bowl I sprinkled the gelatin over 1/4 cup of coconut milk, let it bloom for 2-3 minutes and then I stirred the mixture together slowly to make sure the gelatin dissolves without clumps.
  • I heated the rest of the coconut milk in a small saucepan. When it started to simmer I poured in the gelatin over in the saucepan and continued to whisk hard until it dissolved completely.
  • I placed the mixture to sit in the fridge for at least 3,5 hours and then took it out and started to place the berries on top.

Ready to be served!

*You may add more gelatin if you like the pudding harder (i.e. add up to 4 tsp), but I prefer it softer so I prefer to stick to the 1 tbsp gelatin.

How to make your own Coconut Milk at Home

Coconut milk is a valuable ingredient in AIP and Paleo recipes, 
for milder digestion compared to dairy
and for all vitamins and minerals it contains!
My home-made coconut milk!

I’ve been trying out most coconut milk options on the market, both canned and carton, and compared them in terms of taste and texture. After using all these ready-made options, I realized the most organic coconut milk is the one you do yourself actual coconuts. However, while I trust canned coconut milk, I do not trust the one that comes in carton boxes – it is full of preservatives and flavors that are not AIP-friendly!

Making your homemade coconut milk is very easy, very rewarding and especially very economic compared to buying your canned coconut milk from stores. Normally, out of one single coconut I produce around 700 ml of pure coconut milk. Here’s how I do it:

So here’s how I make my own milk:

I only need:

  • 1 coconut (make sure it’s got liquid inside when you buy it, or else it might be rotten)
  • 2 cups hot water
  • a blender
  • a strainer (optionally a cheesecloth)
  • a coconut breaking kit (screwdriver, hammer, protection gloves – optional)
Presenting my Coconut Breaking Kit 😉

First things first, I heat up all the filtered water and bring it to boil

  • I first break the coconut using a screwdriver and a small hammer – right into the three black points you see on top of the fruit. That is by fixing the screwdriver on one of the holes and hammering the back of the screwdriver until it penetrates the fruit. I then let the fruit holes-down on top of a glass, so that all the coconut water pours out. (don’t get confused by the coconut water, you don’t need it for producing the milk, the coconut water is just the liquid you set aside and drink separately)
  • I then hammer the coconut again using until the crust breaks a bit and then take off the rest of crust that’s still stuck to the fruit using a kitchen knife to separate it from the fruit. I hammer the crust more if needed to ease up the process.
Half-hammering process looks like this
  • After all the crust is removed, I peel off the next brown peel (yes, after the crust there’s another peel to remove), using a knife or a peeler tool.
  • I then take all the clean pieces of the coconut left, wash them a bit and then chop them up by knife in smaller pieces (so that the blender knife can chop them well).
This is before chopping them a bit with the knife
  • I then put all the chopped pieces in the blender and add the 500 mp hot water over the coconut. I turn on the blender for about one minute and…. here comes the fun part!
  • I pour the mixture over a strainer – placed over a larger bowl or pot and squeeze all the mixture very well with my bare hands until all the milk is dipped out (you can also use a cheesecloth for squeezing the pulp).
Voila the straining/squeezing part!

And there you have it! There’s the produce right there! I put the milk in a larger jar and leave it to cool a bit. Then I store it in the fridge for up to 3 days. The best part is that if you leave it overnight it will sediment and will lift up the jar a surprise that’s called the coconut butter!

Absolutely rewarding produce!

* some recipes mention a double blending of the pulp – meaning adding a second round of water over the pulp and blending the second time, but I prefer the milk thicker so I only blend it once – it’s a matter of choice – whether you like it thicker or not

You can use the coconut milk in a variety of AIP and Paleo recipes and enjoy its numerous health benefits while replacing dairy milk forever!

Enjoy!